

Prerequisites:
- HubSpot Permissions: Super Admin or App Marketplace access.
- First Touch Account: You can create one during the setup process.
1. Installation
Follow these steps to authorize the secure connection between First Touch and HubSpot.1
Log In
Log in to your First Touch dashboard at app.firsttouch.ai.
2
Navigate to Integrations
Go to Team Settings > Integrations.
3
Connect HubSpot
Locate the HubSpot integration card and click the ‘Connect’ button.
4
Authorize
You will be redirected to HubSpot. Select the HubSpot portal you want to connect, review the requested permissions, and click ‘Connect app’.
Depending on your HubSpot session, HubSpot may first ask you to choose an account or confirm the warning shown for an unverified app before you can continue.
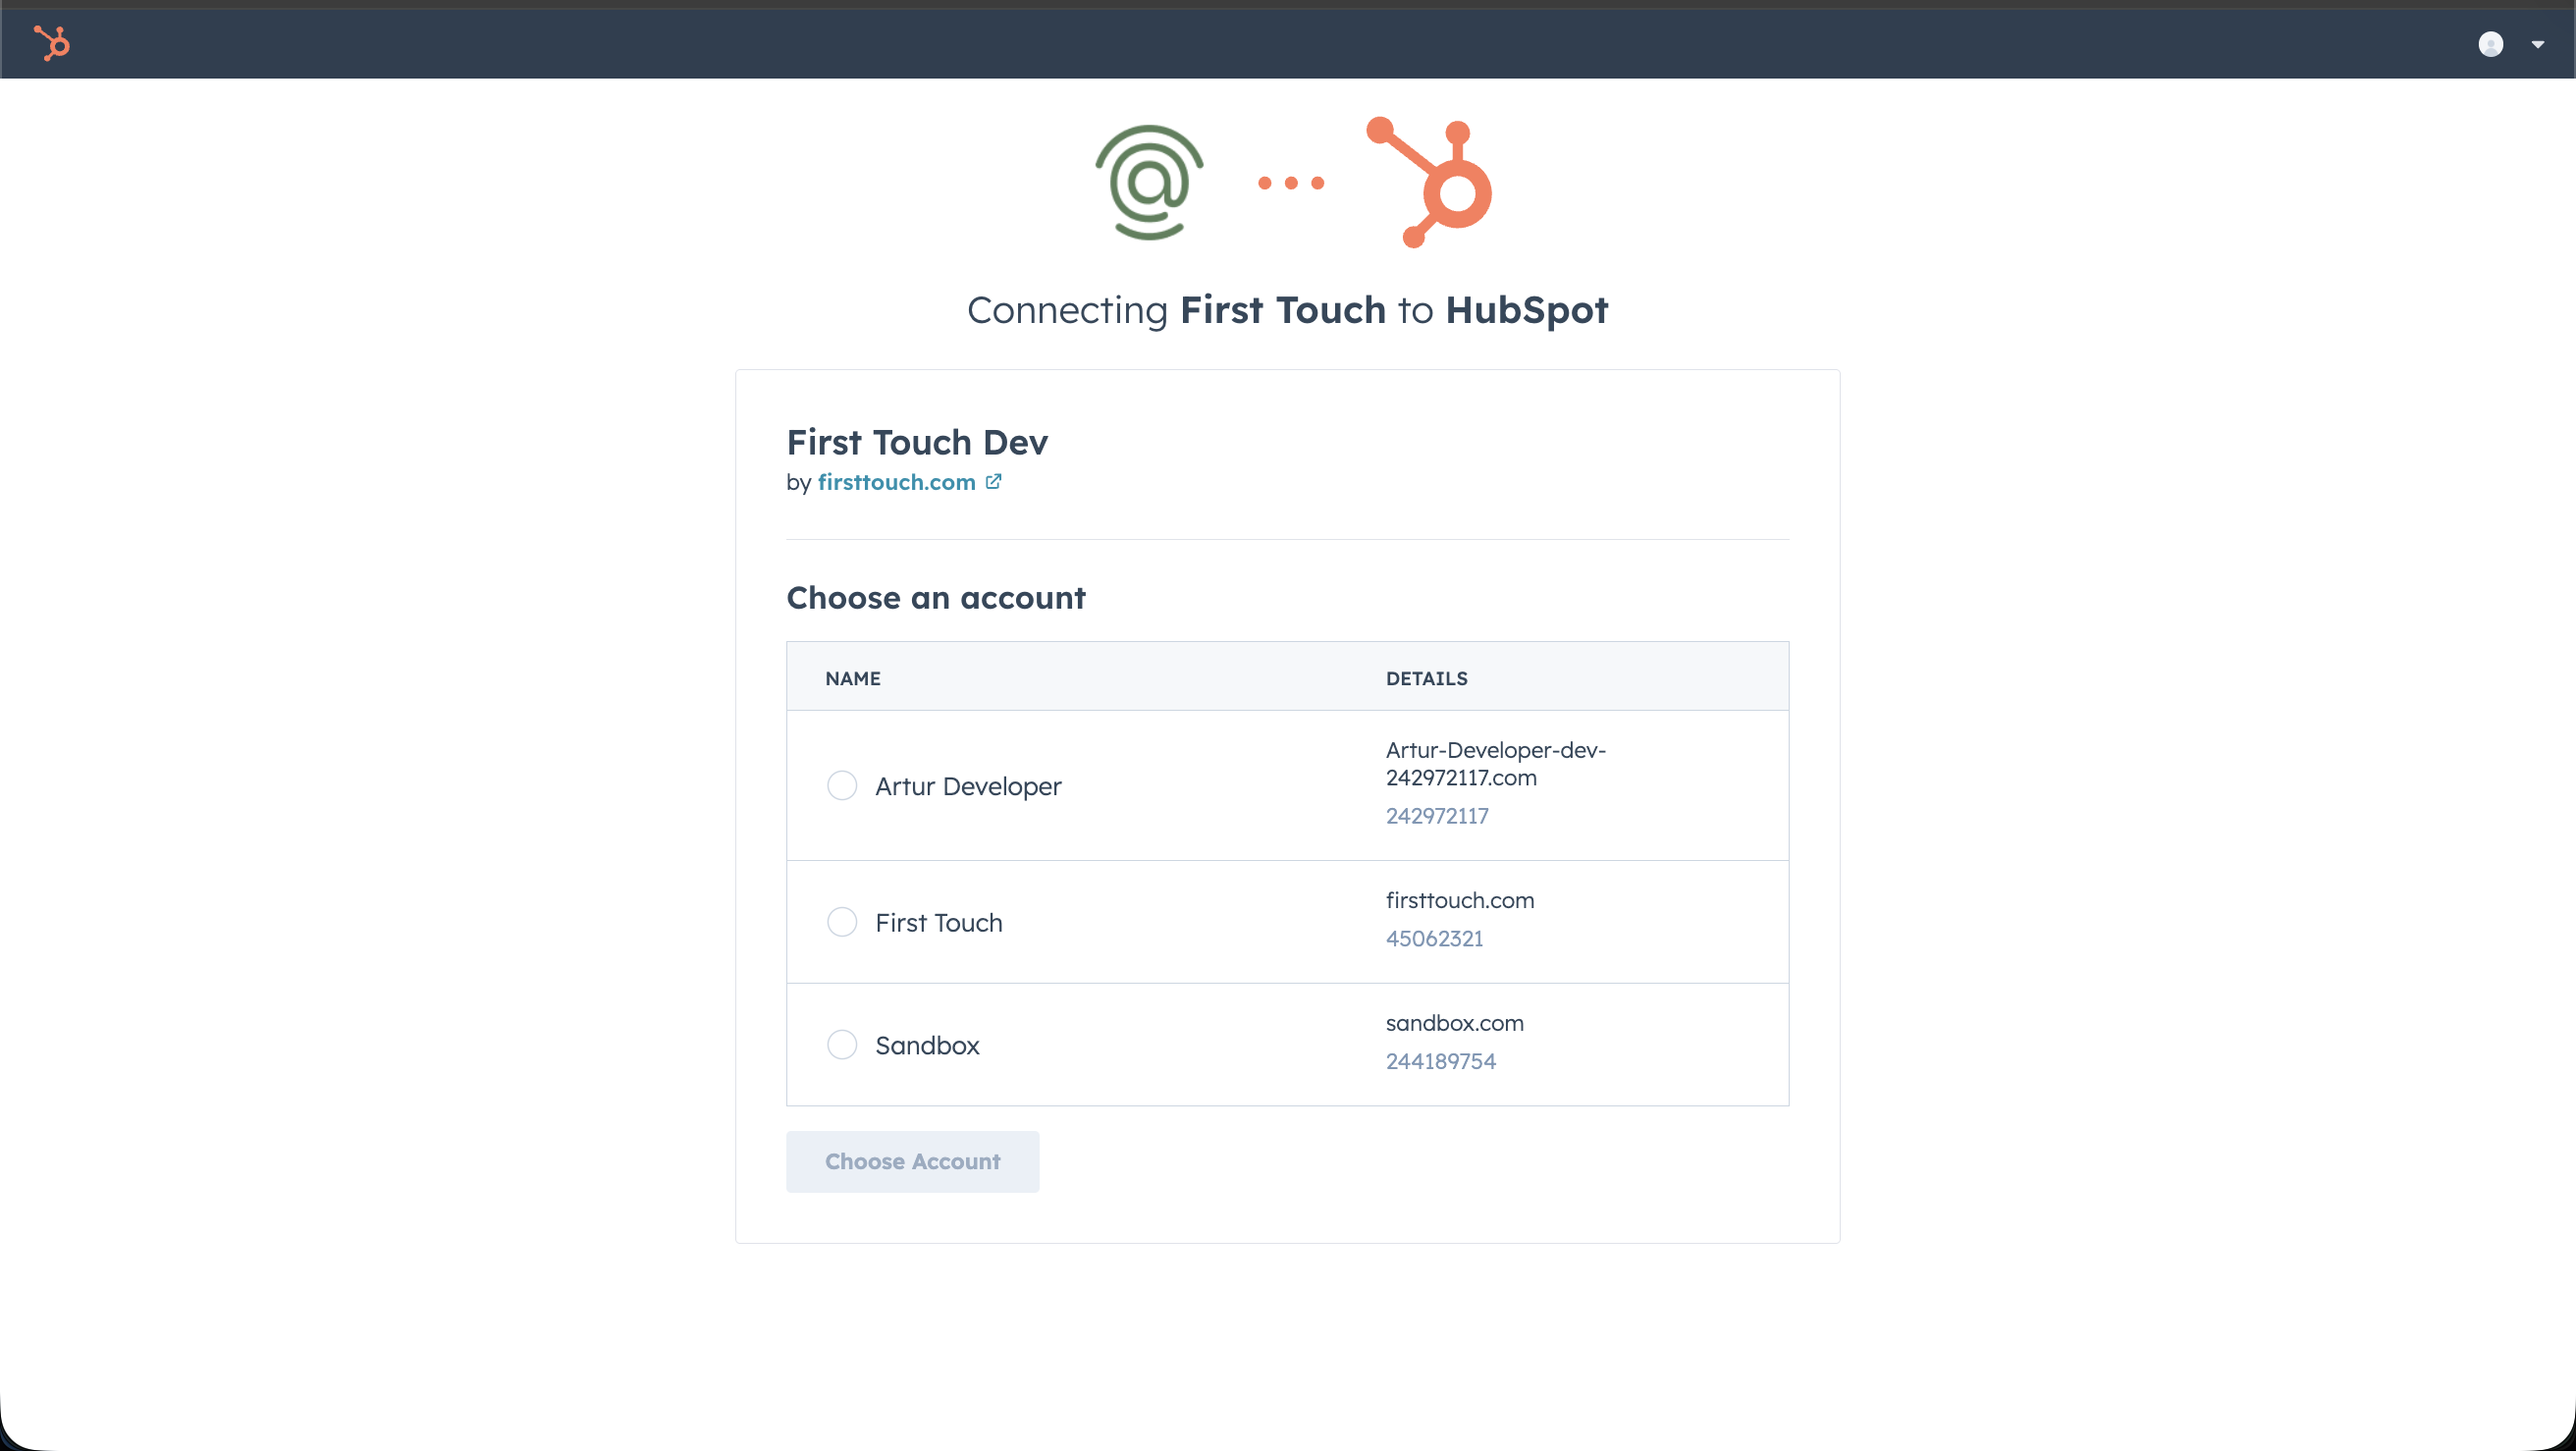
The HubSpot authorization screen requesting access to Contacts, Timeline, and Workflows.
2. Configure First Touch
After the connection succeeds, click Settings on the HubSpot card in Team Settings > Integrations. The current HubSpot settings view includes:- Connection status: Review the connected account and disconnect if needed.
- Account ownership: Decide what First Touch should do when a HubSpot owner is outside your team.
- Engagement tracking: Control which supported LinkedIn, email, and social-signal events are logged to the HubSpot Contact timeline and included in the corresponding state updates.
- Create tasks in CRM: Allow individual Flow Plans to create supported HubSpot tasks.
- Company field mapping: Map First Touch company fields to HubSpot company properties.
- Contact field mapping: Map First Touch contact fields to HubSpot contact properties.
Some mapping rows are locked because First Touch uses them to match and update the right HubSpot records.
3. Optional: Add the HubSpot Record Card
If your team wants to review FirstTouch approval work directly inside HubSpot, add the FirstTouch card to your Contact record layout.- Navigate to any Contact record in HubSpot.
- Click Customize record.
- Open the middle-column card editor for the view you want to update.
- Click Add cards.
- Search for “FirstTouch”.
- Add the card and save the layout.
4. Usage
First Touch works by moving HubSpot contacts into First Touch workflows and keeping key CRM context in sync.Enroll Contacts
There are two primary ways to push HubSpot contacts into First Touch:Workflow Action Card
Best for: AutomationTrigger enrollment from HubSpot workflows based on lead score, lifecycle stage, form fills, or other HubSpot conditions.
- In a HubSpot contact-based workflow, add an action.
- Open Integrated apps > First Touch.
- Select the First Touch action you want to run.
Segments / Lists
Best for: Bulk Enrollment
- Use HubSpot Lists to define your audience.
- Sync these lists directly via First Touch audiences inside the First Touch web app.
Manage Actions in HubSpot
When you add the FirstTouch record card to a HubSpot Contact, current Approval Tasks can be reviewed there without leaving HubSpot.- Review & Edit: Check the drafted message content.
- Approve/Cancel: Execute the outbound action directly from the card.
Activity Timeline
Supported LinkedIn, email, and social-signal activity can be logged back to the HubSpot Contact timeline, depending on the Engagement tracking settings enabled in First Touch. Email events also require email tracking on the Flow Plan, a connected HubSpot account, a completed supported email event, and the HubSpot Contact ID on the Flow Enrollment.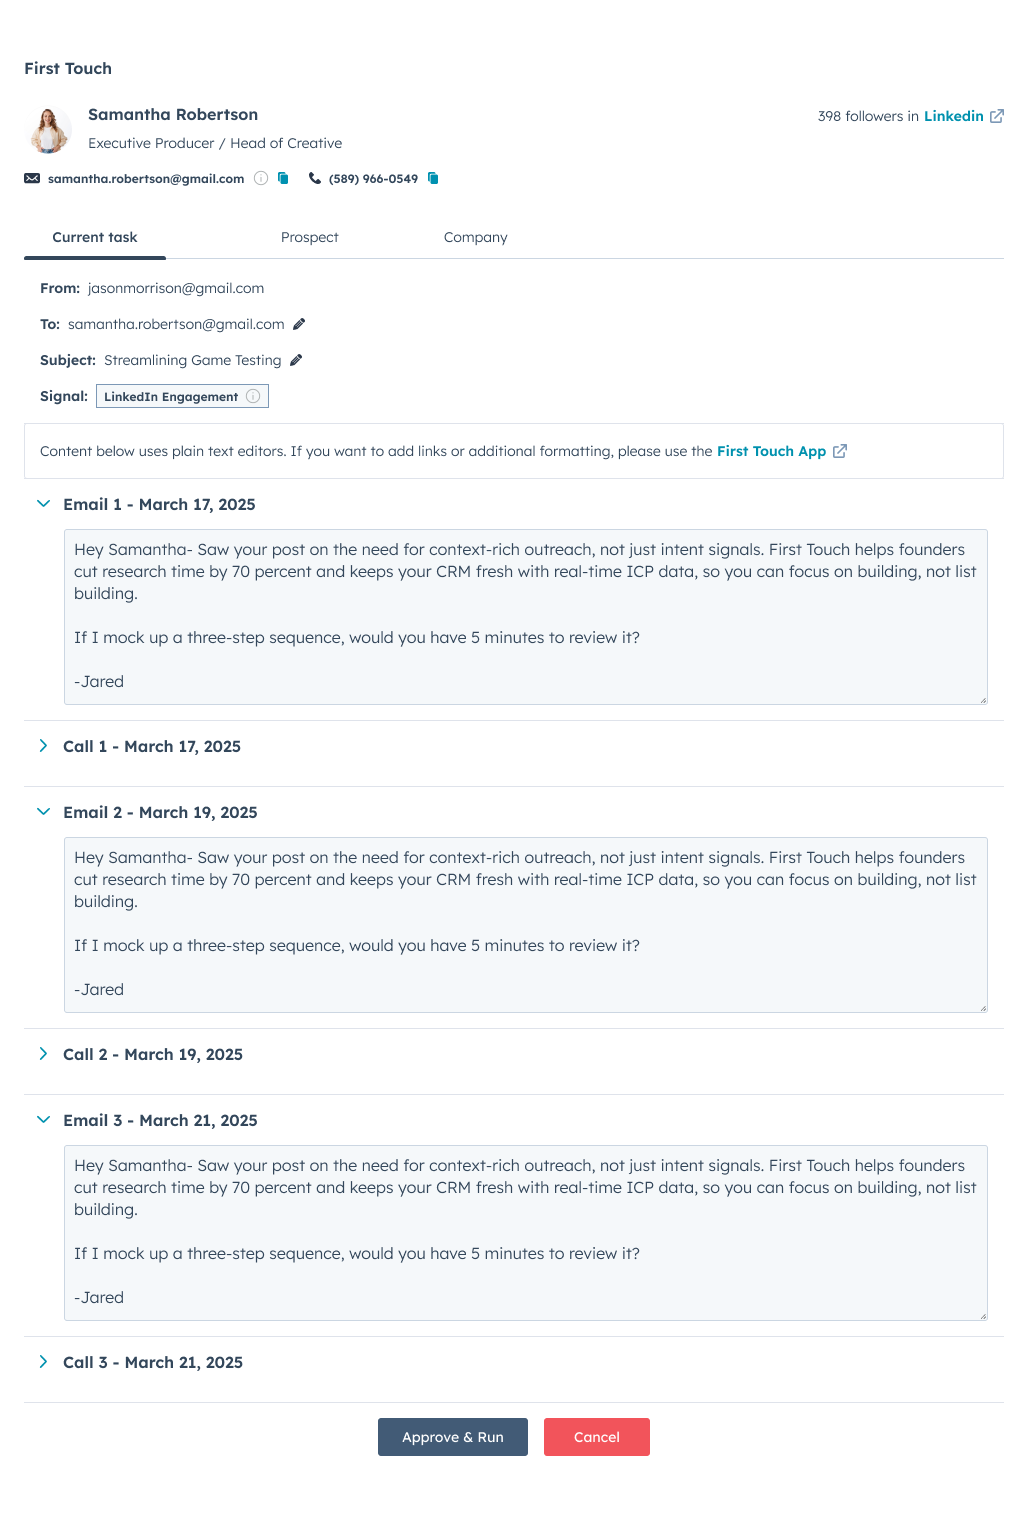
The FirstTouch HubSpot card managing approvals and logging events to the timeline.